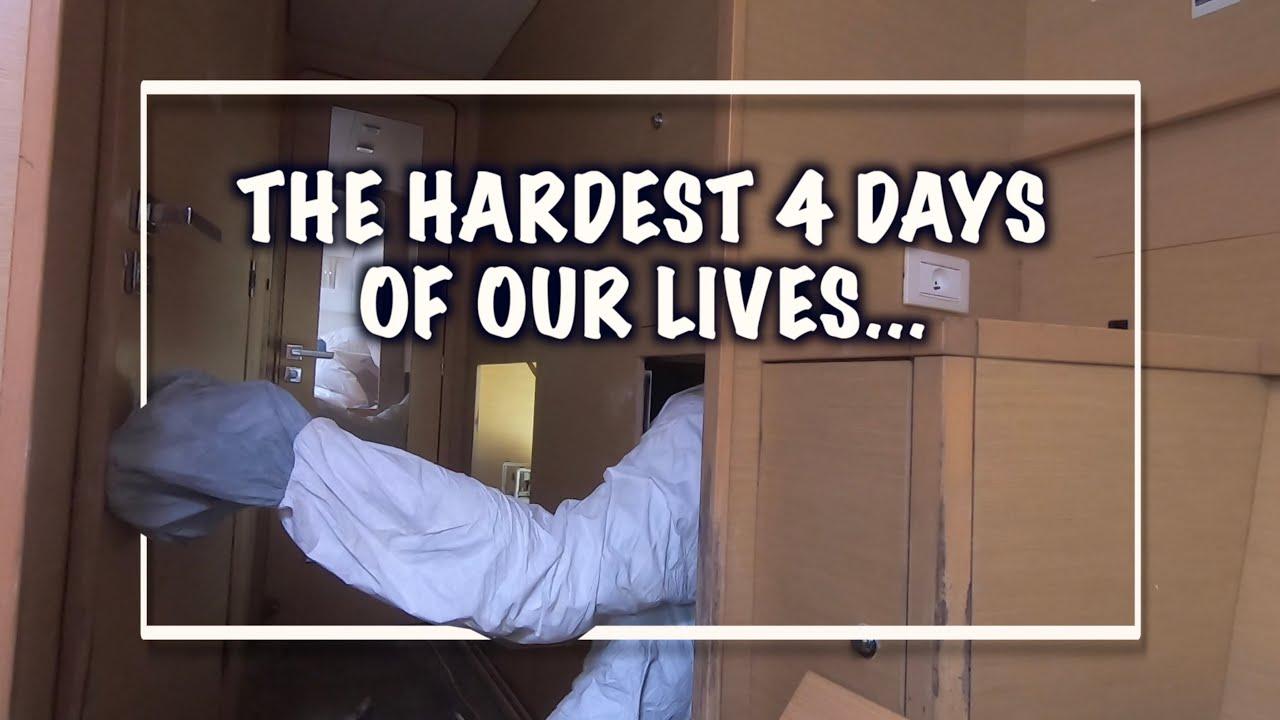
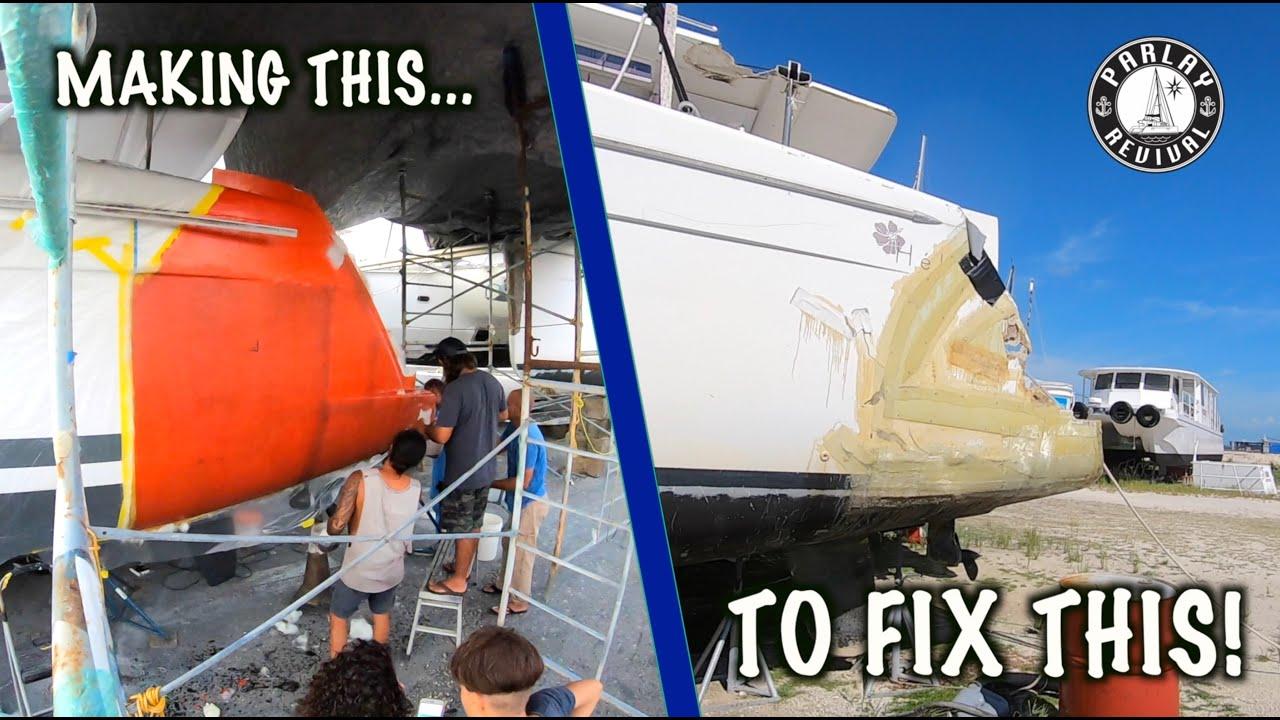
Welcome back to the crack bulkhead repair series! In this episode, we dive into the comments section of our YouTube channel and discover a plethora of testicular-related suggestions. From balls of steel to brass balls, viewers have been commenting on the correlation between size and the ability to withstand fiberglass dust. Join us as we ponder the physics behind this curious connection and invite you to share your thoughts in the comments below. As we continue our journey towards circumnavigating the planet on our rebuilt Lagoon 450, we tackle the repair of a cracked beam with epoxy. Stay tuned for some forearm-burning action and a glimpse into our commitment to getting in shape before setting sail. Let’s get to the bottom of this testicular mystery and keep the adventure alive!
Bulkhead Repair Techniques and Materials
In the latest episode of our cracked bulkhead repair series, we dive into the intricate process of repairing a damaged beam inside the boat. After grinding through layers of glass, we discovered that the plywood remained intact, saving us from having to repair the bulkhead itself. Instead, our focus shifted to repairing the cracked beam with epoxy to ensure structural stability and strength. The dedication to detail and precision in our repair techniques is crucial to the overall success of the project.
As we continue to tackle the challenges of bulkhead repair, we also pay attention to other areas of the boat that require attention. From tabbing on the primary bulkhead to removing resin infusion tubes, each step is carefully executed to ensure a seamless repair process. With determination and perseverance, we aim to not only restore the integrity of the bulkhead but also inspire others to live life to the fullest. Join us on this adventurous journey as we strive to circumnavigate the planet with our fully repaired and seaworthy vessel.
Insights on Fiberglass Dust and Safety Measures
Throughout this entire crack bulkhead rebuild series, we’ve received numerous comments discussing the correlation between the size of one’s testicles and their ability to withstand a large amount of fiberglass dust. While the volume of a sphere may be a mathematical marvel, the real question remains: does size matter when it comes to safety measures?
As we continue our journey in repairing the cracked bulkhead, we are faced with the task of repairing the beam with epoxy. Thankfully, the plywood on the other side remains intact, eliminating the need for further repairs. Our dedication to safety and precision in handling fiberglass dust remains unwavering as we strive to complete this challenging task.
Importance of Proper Hull and Bulkhead Connection
In the latest episode of our Cracked Bulkhead Repair Series, we continue to address the . As we peel back the layers of fiberglass and examine the damage, we are reminded of the critical role that a strong connection between the hull and bulkhead plays in the structural integrity of a vessel. Without a secure connection, the stability and safety of the boat are compromised, putting the crew at risk.
One key aspect that we discovered during our repair process is the tabbing on the main bulkhead. The tabbing, which connects the bulkhead to the hull, had been done over a resin infusion tube, creating air pockets on either side. This lack of proper contact between the glass and the hull can weaken the connection and lead to potential issues down the line. By addressing and correcting these issues, we are ensuring that our vessel is structurally sound and ready to take on the challenges of the open sea.
Recommendations for Effective Epoxy Repair Operations
In order to ensure effective epoxy repair operations, it is crucial to follow certain recommendations that will help you achieve the best results. First and foremost, it is important to properly prepare the surface that needs to be repaired. This involves thoroughly cleaning the area, removing any debris or loose material, and sanding the surface to ensure proper adhesion of the epoxy.
Additionally, when applying the epoxy, make sure to mix it according to the manufacturer’s instructions and work quickly to prevent it from hardening before you can apply it. Use the appropriate tools and techniques to evenly spread the epoxy and ensure a strong bond. Finally, allow the epoxy to cure fully before sanding or painting over it to ensure a durable and long-lasting repair. By following these recommendations, you can effectively repair cracked bulkheads or other damaged surfaces with epoxy.
Concluding Remarks
As we wrap up another episode in our cracked bulkhead repair series, we want to thank all of you for your continued support and hilarious comments about our “balls of steel.” While we may not have figured out the correlation between size and fiberglass dust resistance, we appreciate the humor and camaraderie in the comment section.
It’s been a tough grind with 19 or 20 layers of glass to grind through, but we’re making progress and pushing forward with determination. And as we continue our journey to circumnavigate the planet on our rebuilt Lagoon 450, we hope to inspire you to live life to the fullest and chase your dreams.
Stay tuned for the next episode as we tackle the repairs on the beam with epoxy, leaving no room for error. Remember, as Mark Twain once said, “Twenty years from now, you will be more disappointed by the things you didn’t do than by the ones you did do.” So, what are you waiting for? Let’s make every moment count and seize the day!
Until next time, keep grinding, stay motivated, and never lose sight of your goals. Cheers to living life with passion and purpose!


